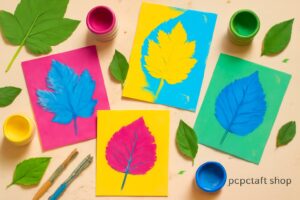
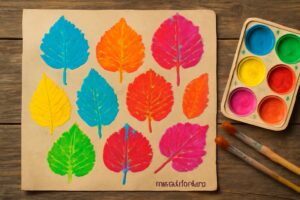
Pop Art Leaf Prints Inspired by Warhol
Pop art was never meant to be subtle—and neither are you. If you’re the kind of person who loves bold color, retro flair, and anything that screams “look at me,” then this DIY project is right up your alley.
This isn’t your usual leaf craft from elementary school. Nope. This is Warhol meets the backyard. Nature meets neon. Think of your favorite leaf, dipped in vibrant paint, pressed onto paper in repeating blocks of unapologetic color—just the way Andy Warhol might have done it if he swapped his soup cans for sycamore leaves.
In this tutorial, you’re going to learn how to create your own Pop Art Leaf Prints from scratch. Whether you’re a full-blown art nerd or just looking for a fun weekend project, we’re keeping things easy, budget-friendly, and totally customizable. You’ll learn everything from choosing the right leaves to nailing that signature Warhol look with the perfect color palette.
By the end, you’ll have a piece of art that’s one part natural, one part nostalgic, and 100% original.
What Are Pop Art Leaf Prints?
Let’s break it down:
Pop art is all about high contrast, vibrant color, repetition, and turning ordinary objects into icons. Andy Warhol—the movement’s poster boy—made Marilyn Monroe, bananas, and even Brillo boxes into high art by repeating them in grids with jarring colors.
Leaf printing is a traditional craft where real leaves are painted and pressed onto paper to leave a textured imprint of their shape and veins. It’s often used in nature journaling or preschool art… but we’re here to level that way up.
So what happens when you mix the two?
You get a vibrant, modern, Instagram-worthy piece of wall art that celebrates both natural form and bold design.
A Pop Art Leaf Print:
-
Uses high-contrast colors (think hot pink on lemon yellow, or teal on black)
-
Repeats the same leaf in different shades, usually arranged in a square or grid
-
Brings out the leaf’s natural patterns but with an edgy, graphic punch
-
Looks amazing framed, especially in minimalist or modern spaces
This DIY isn’t about realism or blending—it’s about making things pop. It’s for people who love nature but aren’t afraid to shake things up with a little electric blue.
Materials You’ll Need

Let’s keep this simple. You don’t need a fancy art studio or a loaded Amazon cart. You probably already have some of this stuff lying around. Here’s what to grab:
🎨 Essentials:
-
Leaves – flat, wide ones work best (maple, oak, fern, etc.)
-
Acrylic paint – bold colors like red, teal, neon pink, yellow, black
-
Paintbrushes or foam brushes – both work; foam gives smoother coverage
-
Thick paper or cardstock – white or light-colored base
-
Plastic plate or palette – for mixing and loading paint
-
Scrap paper – for testing before final prints
-
Paper towels or rag – for quick cleanups
🧤 Optional Extras:
-
Gloves – if you want to avoid painty fingers
-
Stencil or masking tape – for clean edges or blocked designs
-
Mod Podge or spray sealant – if you want to preserve your print
-
Black permanent marker – for outlines or doodle accents
🛒 Where to Get Leaves (If You’re Not in a Forest):
-
Your backyard or street (duh!)
-
Public parks (collect responsibly)
-
Craft stores (some faux leaves work if they’re soft and textured)
-
Ask friends or neighbors if they have trees you can “borrow” from
Remember, the quality of the leaf matters. You want something that’s dry but not brittle, flat but not too thin. And if you collect from outside, press them between books overnight before using for a smoother result.
Choosing the Right Leaves
Okay, not all leaves are created equal—especially when it comes to printing.
The best leaves for this project are:
-
Flat and wide
-
Have strong visible veins
-
Are not too dry or crumbly
-
Can lay completely flat without curling
🌿 Top Choices:
-
Maple – bold shape, lots of character
-
Oak – great natural texture
-
Fern – beautiful for layered or abstract patterns
-
Sycamore – large surface, strong lines
-
Ivy – clean shape and easy to handle
❌ Avoid:
-
Tiny or thin leaves (hard to handle, won’t print well)
-
Super curled or crunchy leaves (they break or smear)
-
Leaves with powdery mold or heavy sap (ruins paint)
🧼 Prep Tips:
-
Gently rinse any dirt off leaves and pat dry
-
Press between book pages or under a heavy object for 12–24 hours
-
Keep them flat but flexible
-
If leaves start to dry or crack while working, lightly mist with water
A good leaf can give you 3–6 solid prints before it wears out, so keep a few extras nearby just in case.
Setting Up Your Workspace
Pop art might look loud, but making it? That can be a chill, creative process—if your workspace is prepped right.
🧰 Indoor Setup:
-
Use a table covered with old newspapers or kraft paper
-
Keep your paint station to one side, paper stack on the other
-
Have a rag or damp cloth nearby to clean fingers/brushes
-
Use a tray or box lid to hold leaves ready to print
-
If you’re working with kids, put down a drop cloth—paint splatters happen
🌳 Outdoor Setup:
-
Choose a flat surface (patio table, picnic bench, etc.)
-
Secure your paper with clips or weights if it’s breezy
-
Have a water cup for brush cleaning
-
Watch out for ants. Seriously. They love paint water for some reason.
💡 Other Tips:
-
Wear an apron or old shirt
-
Test colors on scrap paper before printing on your final piece
-
Use gloves if you’re heavy-handed with paint
Getting set up properly saves you from the “oh no!” moments that ruin good art. And remember: this is supposed to be fun, not fussy.
Color Theory: Going Full Warhol
If there’s one thing Andy Warhol taught us, it’s that color isn’t just visual—it’s emotional. Warhol’s use of bold, contrasting hues wasn’t random. It made everyday objects look iconic and unforgettable. That’s the energy you want to bring into your leaf prints.
🎨 Start with the Basics:
You don’t need a color wheel degree to get started. Just focus on these essentials:
-
High contrast = maximum pop
-
Try: hot pink on teal, yellow on royal blue, or red on lime green
-
-
Warm vs. cool
-
Warm: red, orange, yellow = energy, heat
-
Cool: blue, green, purple = calm, mystery
-
-
Dark + light combos
-
Black leaves on a white background are striking
-
Neon colors on black paper = edgy and modern
-
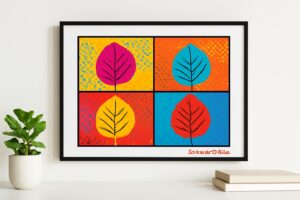
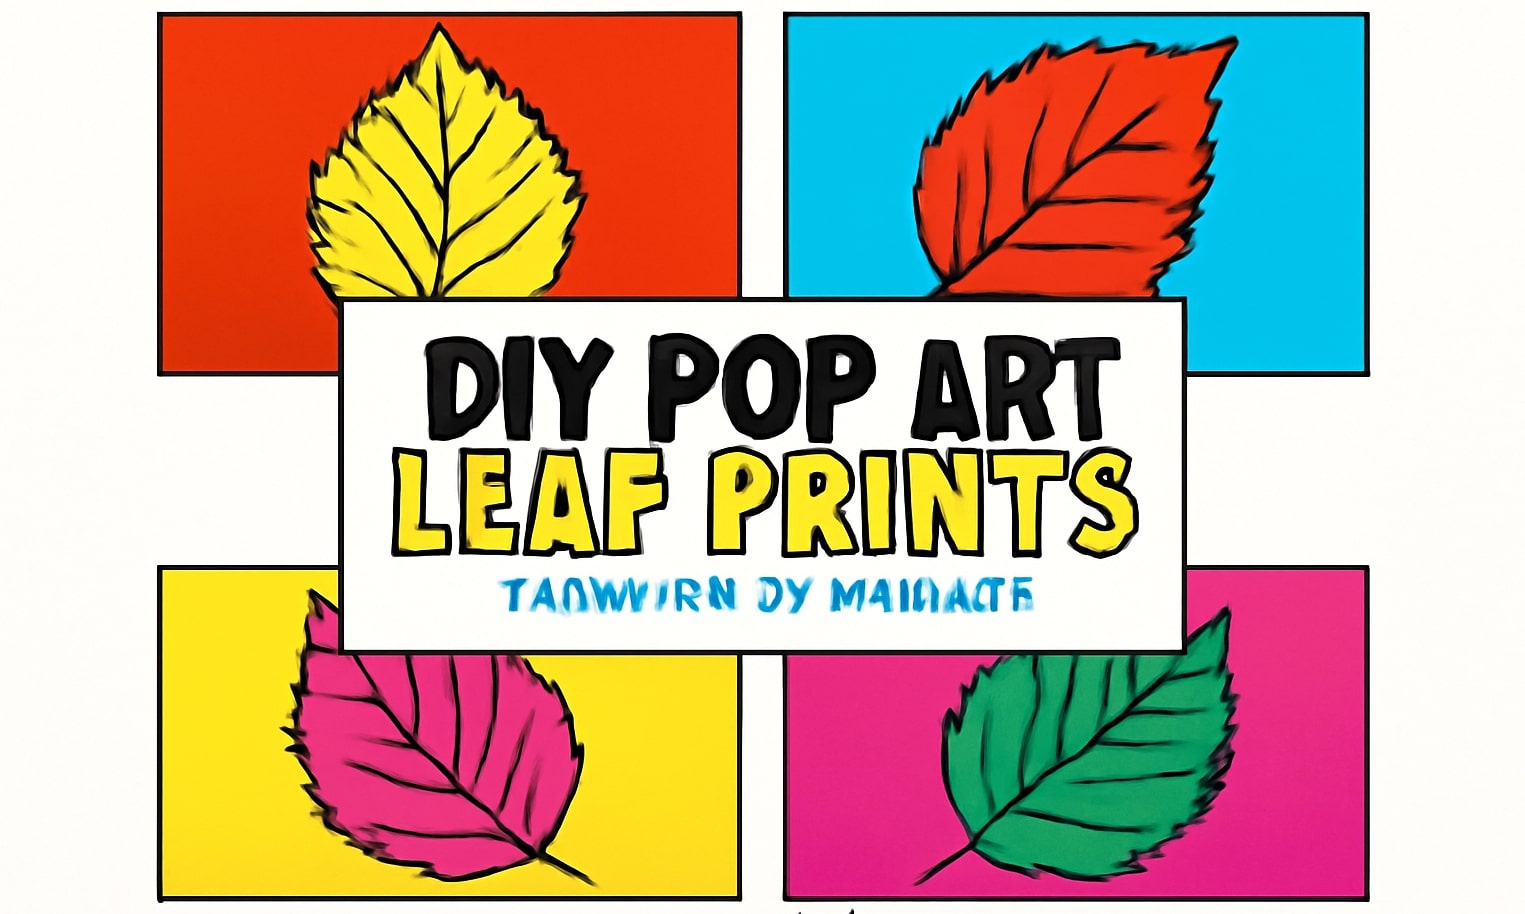
Warhol often used the same subject repeatedly with different color combos, so don’t be afraid to experiment. Print the same leaf four times in four color schemes. Place them in a 2×2 grid. Suddenly you’ve got a mini Warhol-style gallery.
💡 Pro Tips:
-
Test your colors on scrap paper first
-
Don’t over-blend—block colors are what make pop art stand out
-
Use neon or metallic paint for that retro flair
-
Want true Warhol vibes? Use complementary colors: purple/yellow, red/green, blue/orange
And remember: this is pop art, not a subtle watercolor painting. Loud, bold, and unapologetic is the goal.
Step-by-Step: Making Your Pop Art Leaf Prints
Alright, here comes the fun part—the printing process. Get your paint, paper, and leaves ready. We’re going in.
🔨 Step 1: Prep Your Leaf
-
Place it vein-side up (that’s the bumpy side)
-
Dab or brush paint evenly across the surface
-
Use a foam brush for smooth coverage, or a regular brush for texture
🎯 Step 2: Position and Press
-
Flip the painted leaf onto your paper—paint side down
-
Lay a piece of scrap paper on top and press evenly with your palm
-
Don’t rub! That causes smudging. Press firmly, then lift gently
🖼 Step 3: Repeat the Pattern
-
Repaint and reposition your leaf in a grid or row
-
Use different colors for each block, or the same color in different placements
-
Leave white space between prints for that clean pop-art effect
🌀 Step 4: Clean Edges (Optional)
-
Use painter’s tape to create boxes before printing
-
Remove tape after all prints are dry for a sharp border effect
🖊 Step 5: Add Details (Optional)
-
Use a black marker to outline the leaf shapes
-
Add dots, comic-style stars, or even villain quotes for personality
💡 Tip: Don’t rush the process. Let each print dry a little before printing again on the same sheet—especially if you’re layering colors.
This is your moment to play. Pop art isn’t about perfection—it’s about energy, expression, and making something visually loud with very little.
Drying, Sealing & Framing
You’ve made something awesome—now make it last.
🧼 Drying Tips:
-
Lay your prints flat on a clean surface
-
Avoid stacking wet prints—they’ll stick
-
Let them dry at least 30–60 minutes, depending on paint thickness
🧴 To Seal or Not to Seal?
-
If your print will go in a frame: no need for sealant
-
If you want a glossy or protected surface:
-
Use Mod Podge matte or gloss
-
Or a light spray sealant from a craft store
-
Apply in thin coats to avoid smearing
-
🖼 Framing Tips:
-
Use a colorful mat board to match your paint palette
-
Go for white or black frames for high contrast
-
Arrange a set of 2, 4, or 6 prints in a series
-
Want Warhol vibes? Hang them in a grid with equal spacing
Framing turns your DIY into something gallery-worthy. It also protects your work and makes it perfect for gifting or even selling.
Displaying Your Prints Like a Gallery

Now that you’ve got some framed leaf masterpieces, let’s talk about how to show them off.
🖼 Best Display Spots:
-
Above your desk (creative corner vibes)
-
Hallway art wall
-
Staircase gallery grid
-
Kitchen or living room accent wall
-
Bathroom art? Why not.
🎨 Styling Ideas:
-
Hang in pairs or grids (2×2 or 3×3 looks amazing)
-
Combine with vintage frames or thrifted finds
-
Add plant-themed decor around them for cohesion
-
Use clipboards for a casual, changeable setup
-
Paint a mini wall section behind them in one of your pop colors
This is your chance to create your own Warhol-inspired gallery wall, using leaves from your backyard and colors from your imagination.
Customization Ideas
Want to go even further? Here’s how to make each piece one-of-a-kind.
✨ Get Creative With:
-
Multiple leaf types: Different textures and shapes in one piece
-
Words or quotes: Stamp or hand-letter a Warhol-style word like “NATURE” or “POP”
-
Metallics: Gold or silver paint adds depth and shine
-
Neon paper: Skip white paper altogether and use bright sheets for next-level pop
-
Holiday versions: Use pine needles for winter, maple leaves for fall, or tropical ones for summer themes
You can even turn these into:
-
Greeting cards
-
Gift tags
-
Wall calendars
-
Journal covers
This isn’t just a craft—it’s a design system. Once you get the hang of it, you can riff on it forever.
Pop Art Leaf Prints with Kids or Beginners
Pop art leaf prints aren’t just for pro crafters or artsy Instagrammers—they’re an amazing activity for kids, families, or total beginners who just want to have fun with color and nature.
This is one of those rare DIYs that’s:
-
Messy (in a good way)
-
Affordable
-
Educational
-
Super creative without being intimidating
👶 For Kids:
-
Use larger leaves (easier to handle)
-
Stick with 1 or 2 colors at a time to avoid confusion
-
Let them press the leaves themselves—it builds fine motor skills
-
Use washable paint and old t-shirts (trust us on that)
-
Skip the framing and turn their prints into greeting cards, bookmarks, or fridge art
This is also a sneaky way to teach:
-
Color mixing
-
Plant anatomy (hello, leaf veins!)
-
Creativity without screens
🧑🎨 For Beginners:
-
Stick with bold, pre-mixed colors
-
Practice on scrap paper first
-
Start with just one leaf and build up confidence
-
Don’t worry about perfect placement—imperfection = character
Whether you’re 5 or 55, making your own art with leaves is unexpectedly satisfying. There’s something primal and peaceful about mixing natural elements with bright, bold pigment—and when you’re done, you’ll have something cool to hang or gift.
Common Mistakes to Avoid
Even simple art projects can go sideways if you’re not prepared. Here’s what usually trips people up—and how to dodge those leaf-shaped potholes.
⚠️ Mistake 1: Too Much Paint
When you glob paint onto the leaf, it floods the texture. Instead of crisp vein patterns, you’ll get a big blob.
Fix: Lightly dab paint with a foam brush or sponge instead of slathering it.
⚠️ Mistake 2: Rubbing the Leaf
People often press and then rub the leaf like they’re ironing it. That just makes a blurry mess.
Fix: Press downward with even pressure, then lift straight off.
⚠️ Mistake 3: Wet Prints Sticking Together
If you stack wet prints or lay them on top of each other, you’ll ruin both.
Fix: Dry them flat, spaced out, on a surface with good airflow.
⚠️ Mistake 4: Leaf Breakage Mid-Project
Dry or brittle leaves crack and crumble once paint hits them.
Fix: Soften leaves ahead of time with a damp paper towel or press them overnight.
⚠️ Mistake 5: Paper Too Thin
Thin printer paper can warp, tear, or soak through.
Fix: Use cardstock, watercolor paper, or art paper for durability and better texture.
Making these adjustments ensures your art comes out bold, clean, and gallery-worthy—no frustration required.
Sustainability and Nature Appreciation

While you’re having fun with paint and bold prints, it’s worth pausing to realize—this project is deeply connected to the earth.
You’re literally picking up fallen leaves and giving them a second life in art.
This DIY:
-
Encourages outdoor exploration
-
Helps kids and adults connect with their environment
-
Shows how art doesn’t always require plastic or fancy materials
-
Promotes upcycling and natural reuse
Want to take it deeper? Collect leaves seasonally. Do prints with friends on hikes. Use them as mindfulness tools—seriously, pressing leaves in silence is meditative.
This isn’t just creative expression. It’s a creative relationship with the world outside your window.
Conclusion
Pop art leaf printing is proof that you don’t need a massive studio or expensive supplies to make bold, striking, original art. All you need is a few leaves, some paint, and a Warhol-inspired attitude.
You’ve now got the full blueprint—from choosing the right leaves to mixing colors that shout from across the room. You’ve learned how to plan, press, paint, frame, and even share your leafy masterpieces with the world.
Whether you’re crafting for fun, decorating your space, teaching a class, or just spending quality time offline—this DIY delivers.
So next time you see a colorful leaf on the ground, don’t step on it. Pick it up. Bring it home. And make art that pops.
FAQs
Q: What kind of paint works best on leaves?
Acrylic paint is the top choice—it dries fast, sticks well, and comes in bold colors. Avoid watercolor or oil-based paint.
Q: Can I use fake leaves instead of real ones?
Yes, but only if they’re flexible and textured. Some fabric leaves from craft stores work well, but plastic ones usually don’t hold paint.
Q: How long does a print take to dry?
Usually 30 to 60 minutes depending on paint thickness and room temperature. Avoid touching until it’s fully dry to prevent smudging.
Q: What’s the best paper to use?
Thick cardstock or watercolor paper (160–300gsm) works best. It absorbs the paint without warping or tearing.
Q: Can I use this technique on fabric or canvas?
Yes! Try fabric paint on tote bags, pillowcases, or canvas panels for an upgraded version of the project. Just make sure to seal it if you’re washing.

